Use this tour to recognise the screens in the step-by-step guides. These are captures of Alignr running locally on 26 September 2026 with seeded demonstration data. The examples show an environment that still needs configuration and assessment; they are not live customer results.

The short screen tour

This silent, 18-second tour moves between four screenshots; it does not demonstrate completed authorisation or an AI response. The sections below provide the same information in text and full-size images.
  • 0–5 seconds: Microsoft setup. Prepare partner access, then choose the workspace connection method and account.
  • 5–9 seconds: Tool setup. Choose Datto RMM, Autotask or HaloPSA; RMM and PSA are different sources.
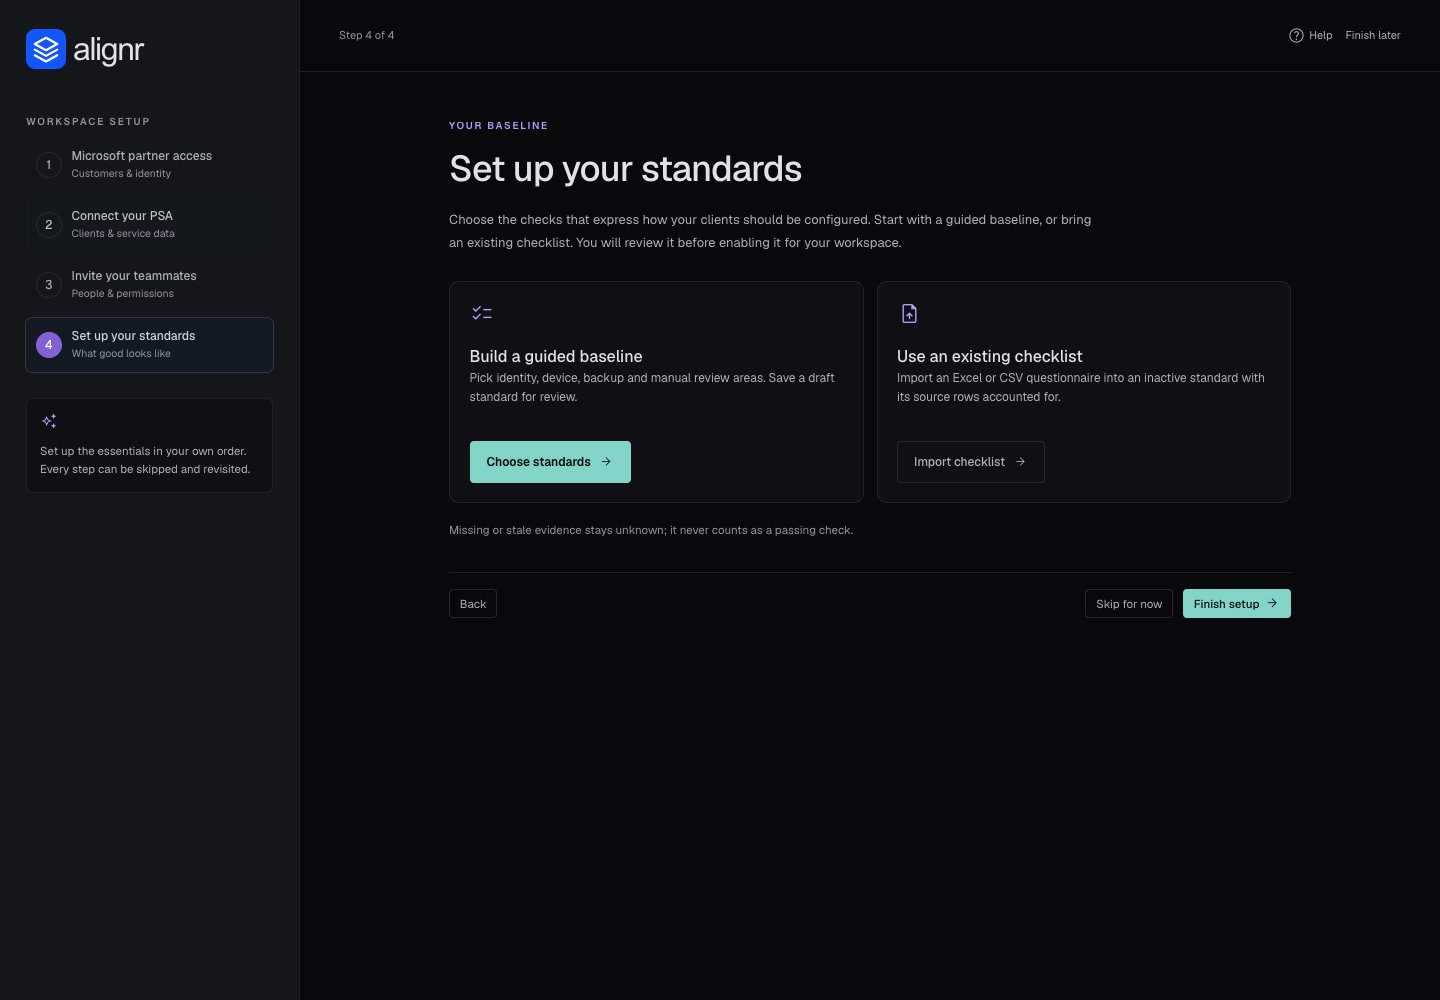
  • 9–13 seconds: Standards. Build a guided baseline or import a checklist, then review it before activation.
  • 13–18 seconds: Ask Alignr. Check the client and page scope before sending a question.

1. Choose your Microsoft access path
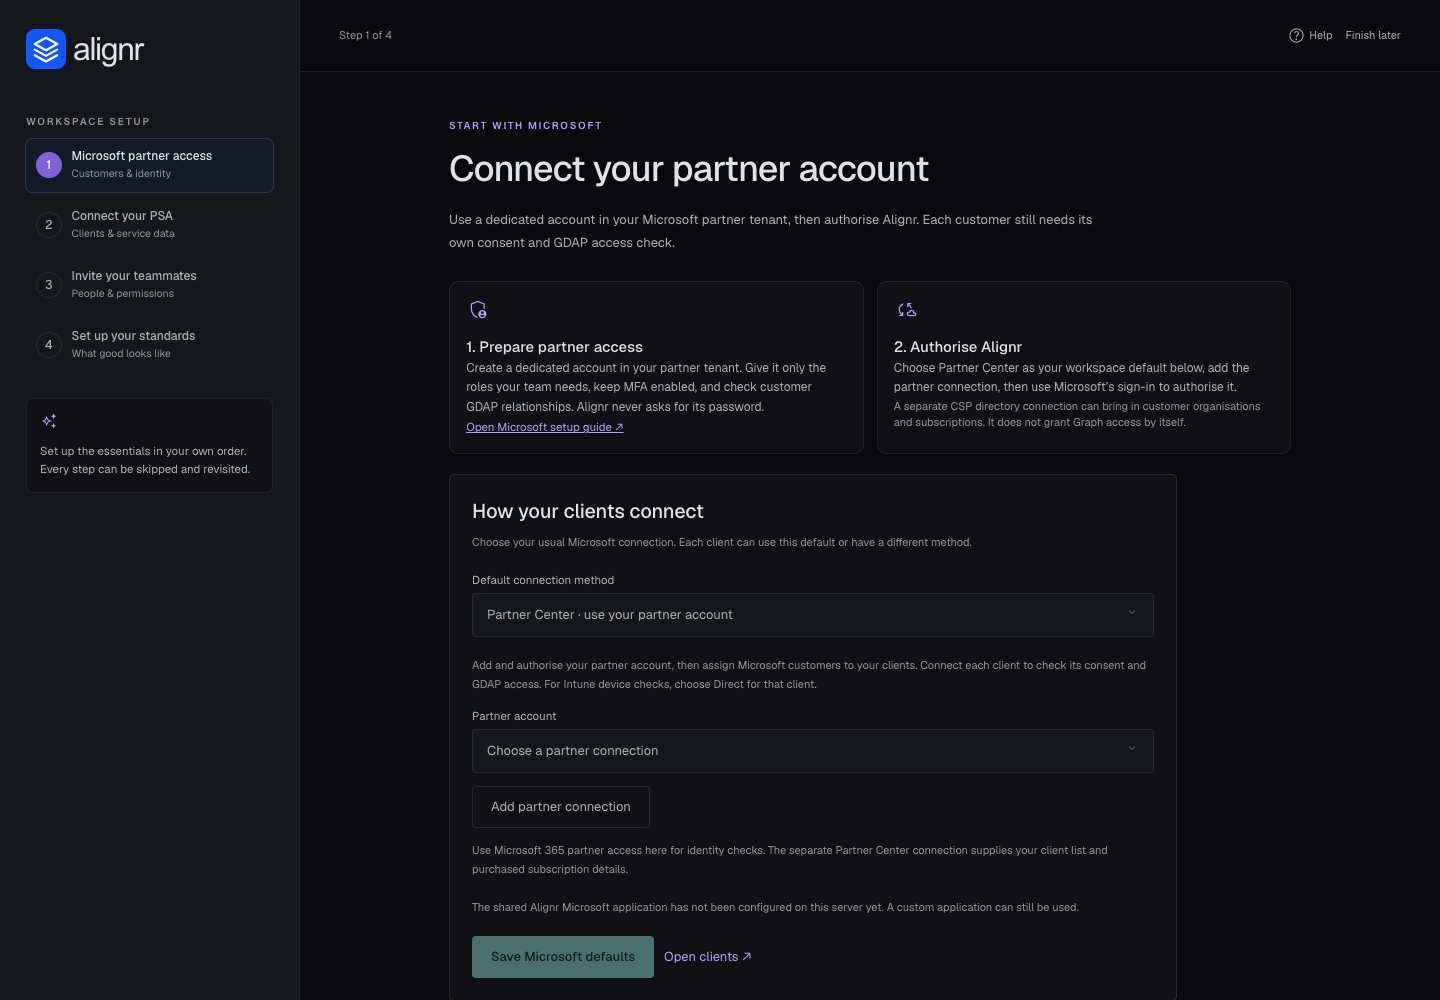
Alignr setup wizard showing four steps, partner access guidance, the default connection method and partner account selector.

The setup wizard: Microsoft partner access. This local demo has no shared Microsoft application configured.

  • Left: choose a setup step. You can return to unfinished steps.
  • Centre: prepare partner access, then select the workspace’s default connection method and account.
  • Top right: Finish later returns to the app; it does not establish that setup is complete.
For a client outside Partner Center, use a Direct connection. Follow the Microsoft setup walkthrough for prerequisites, permissions and verification, or the wizard guide for all four steps.

2. Connect your tools and choose expectations

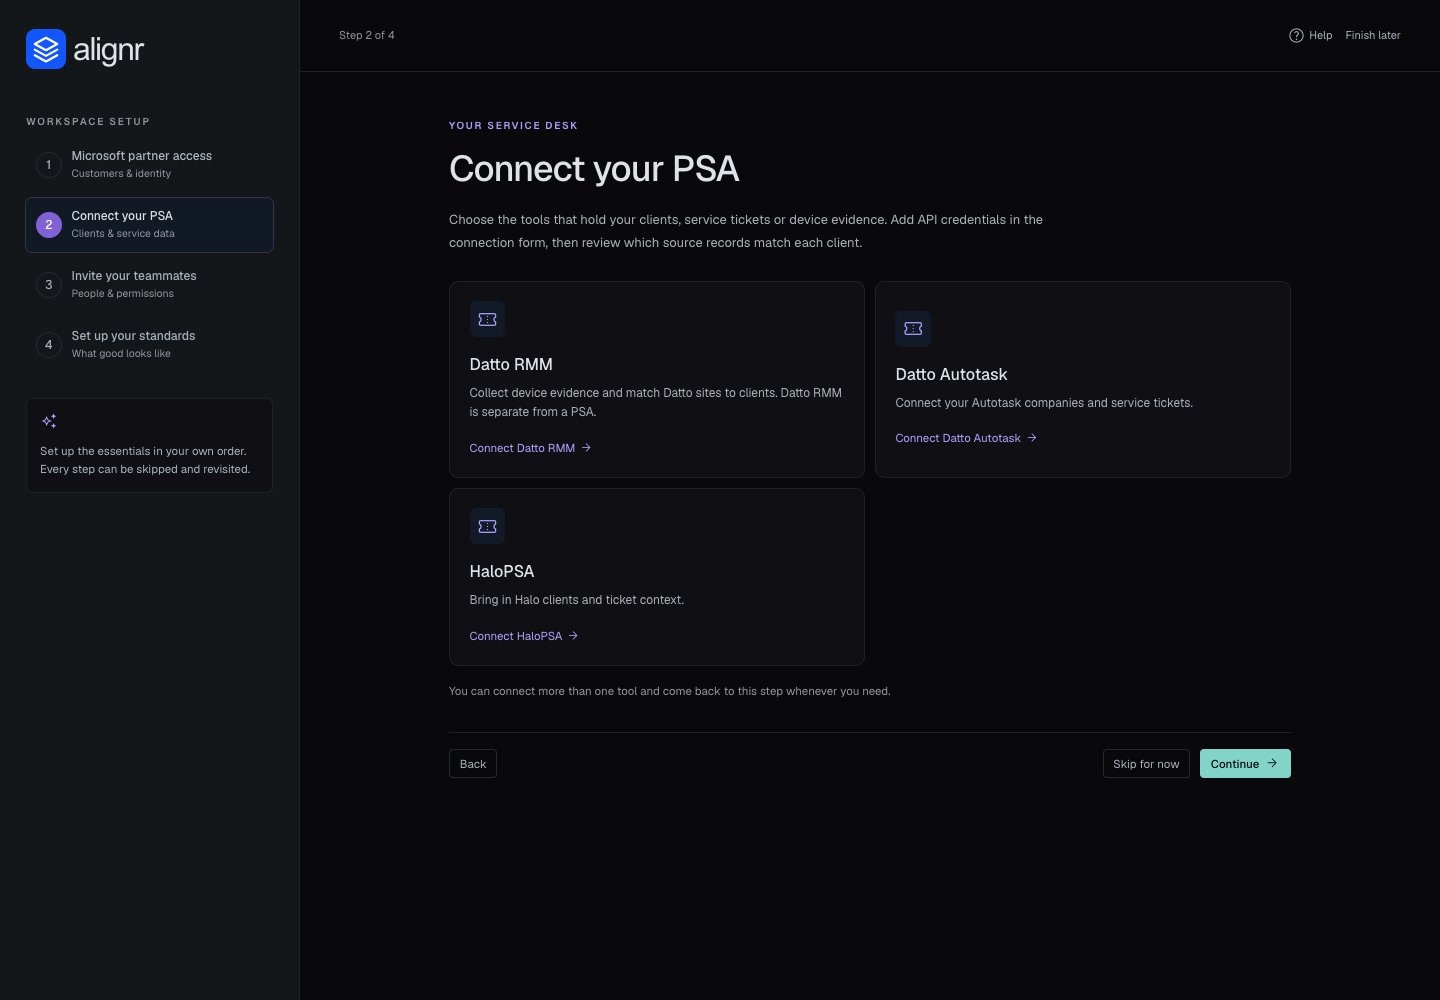
Connect your PSA step with Datto RMM, Datto Autotask and HaloPSA connection choices.

The connection step offers supported starting points; Datto RMM is explicitly separate from a PSA.
Select the intended product and follow its prerequisites. Saving credentials, mapping source clients and collecting evidence are separate checkpoints. Browse the integration catalogue for the broader choice of tools.

3. Read the client’s checks

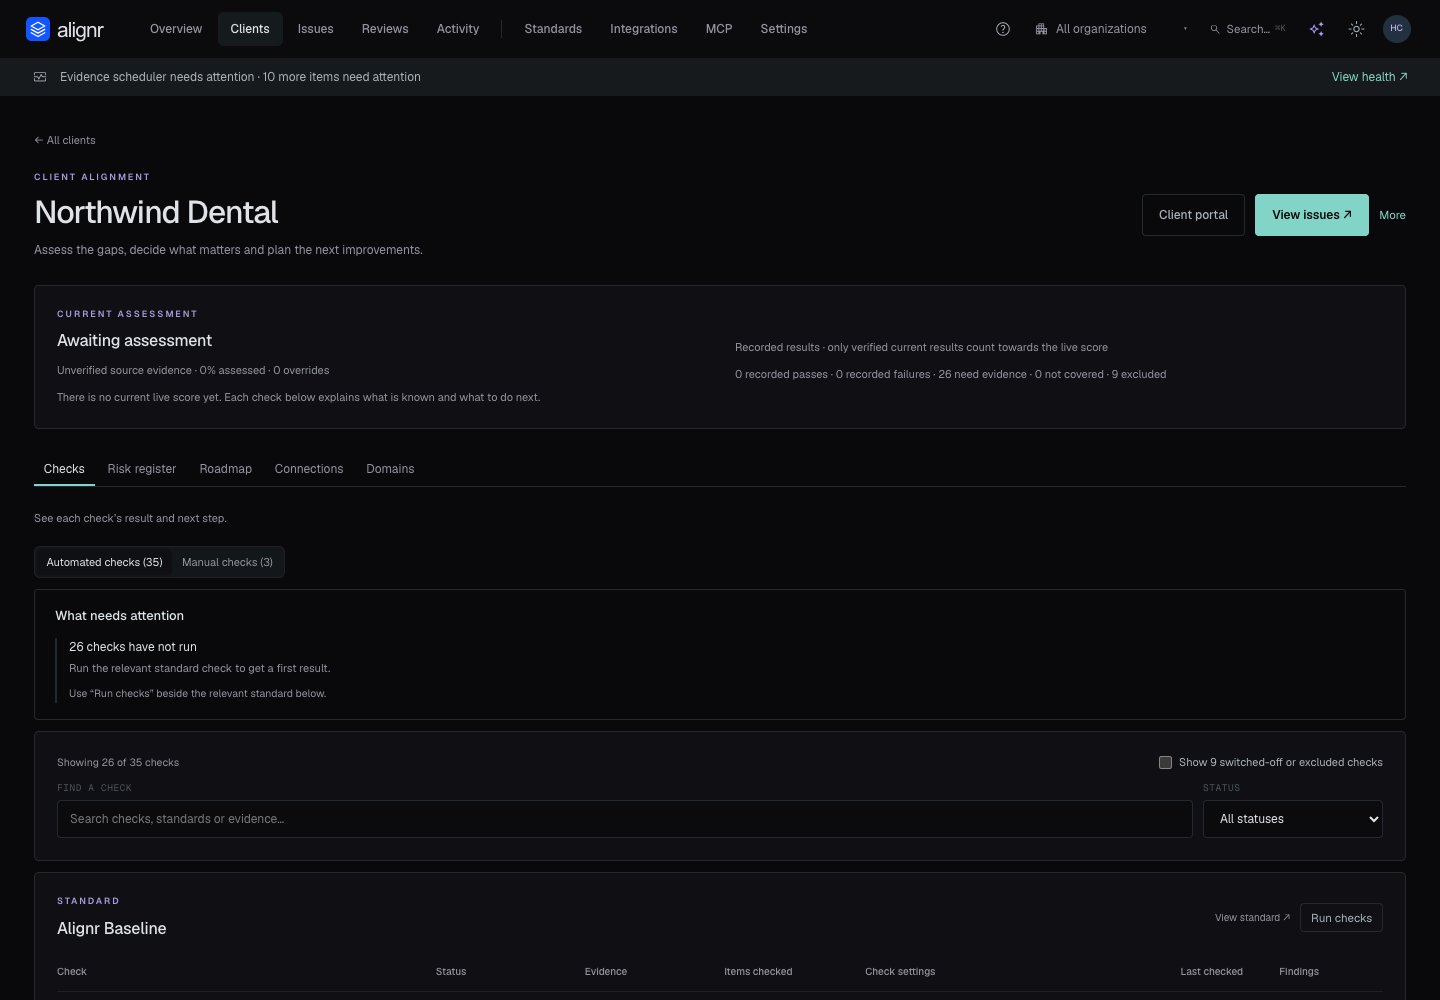
A demo client's Checks tab showing automated and manual check choices, coverage information, filters and controls needing evidence.

Northwind Dental is seeded demo data. These controls need evidence and have never run; the screen is not showing passing assessments.

Start with the client name, then read the status, evidence and last-checked information together. Open a check to investigate it. Needs evidence is an instruction to investigate the evidence path, not a lower-severity pass. Follow Your first assessment to move from this screen to a result you can explain. Use troubleshooting when collection or evaluation is incomplete.

4. Ask for help in context

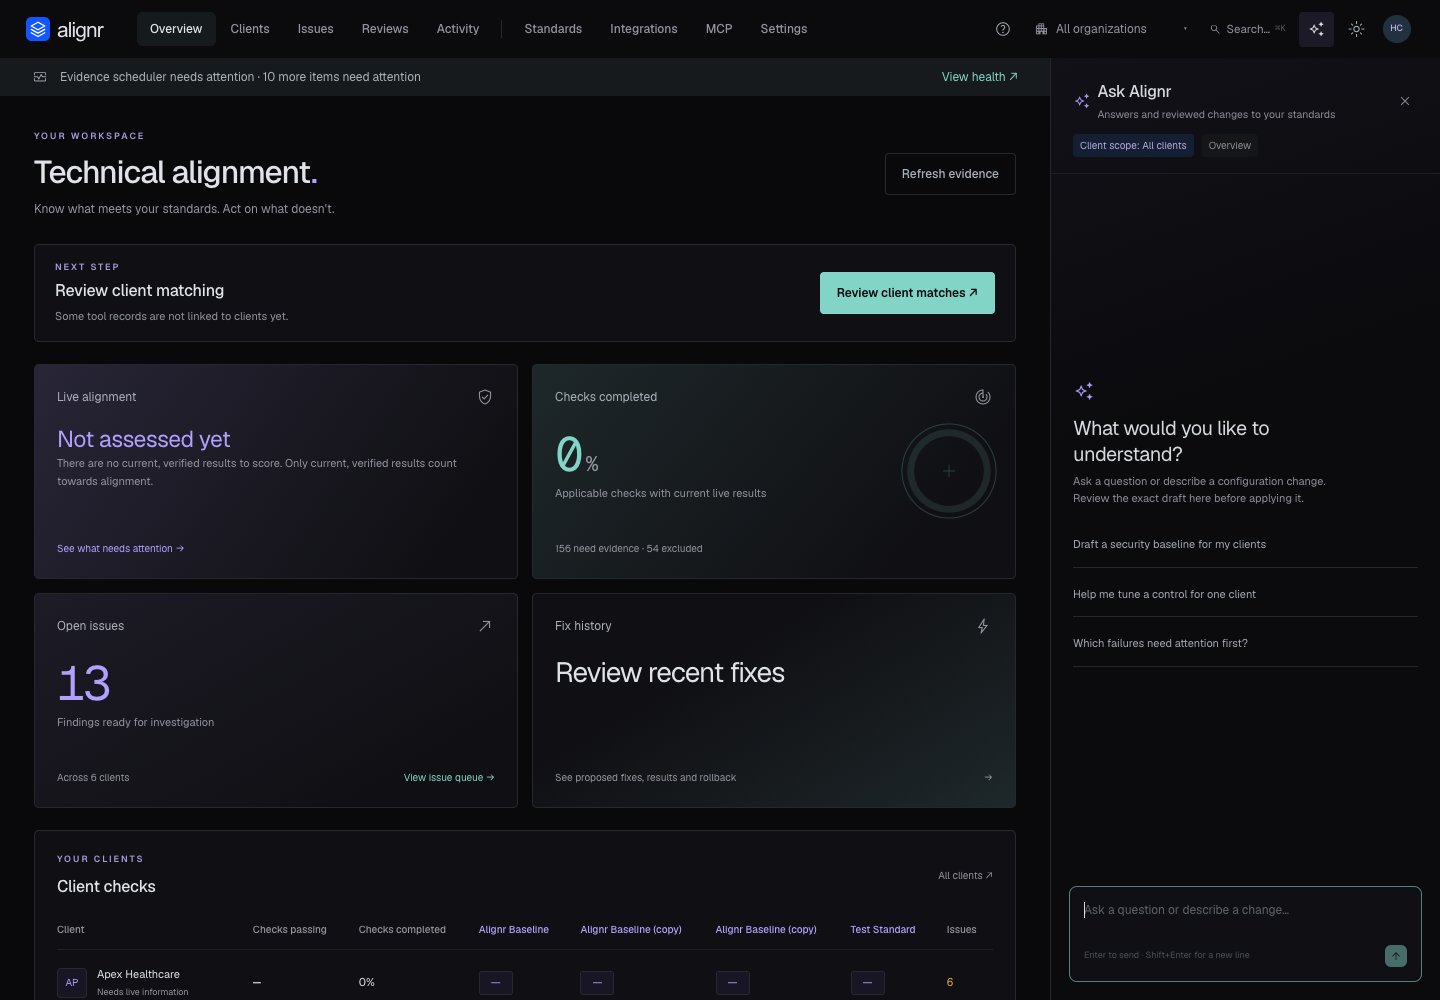
Ask Alignr panel open beside Overview, with client and page scope chips, suggested prompts and a message composer.

Ask Alignr is beside the app. The scope chips show All clients and Overview in this example.

Check the scope chips before sending a question. Choose a suggestion or describe the result you need explained. A configuration proposal must be reviewed before applying; this screenshot shows the starting panel, not a generated answer or saved change. Use the AI assistant includes prompt examples and the supported draft operations.

5. Prepare the client discussion

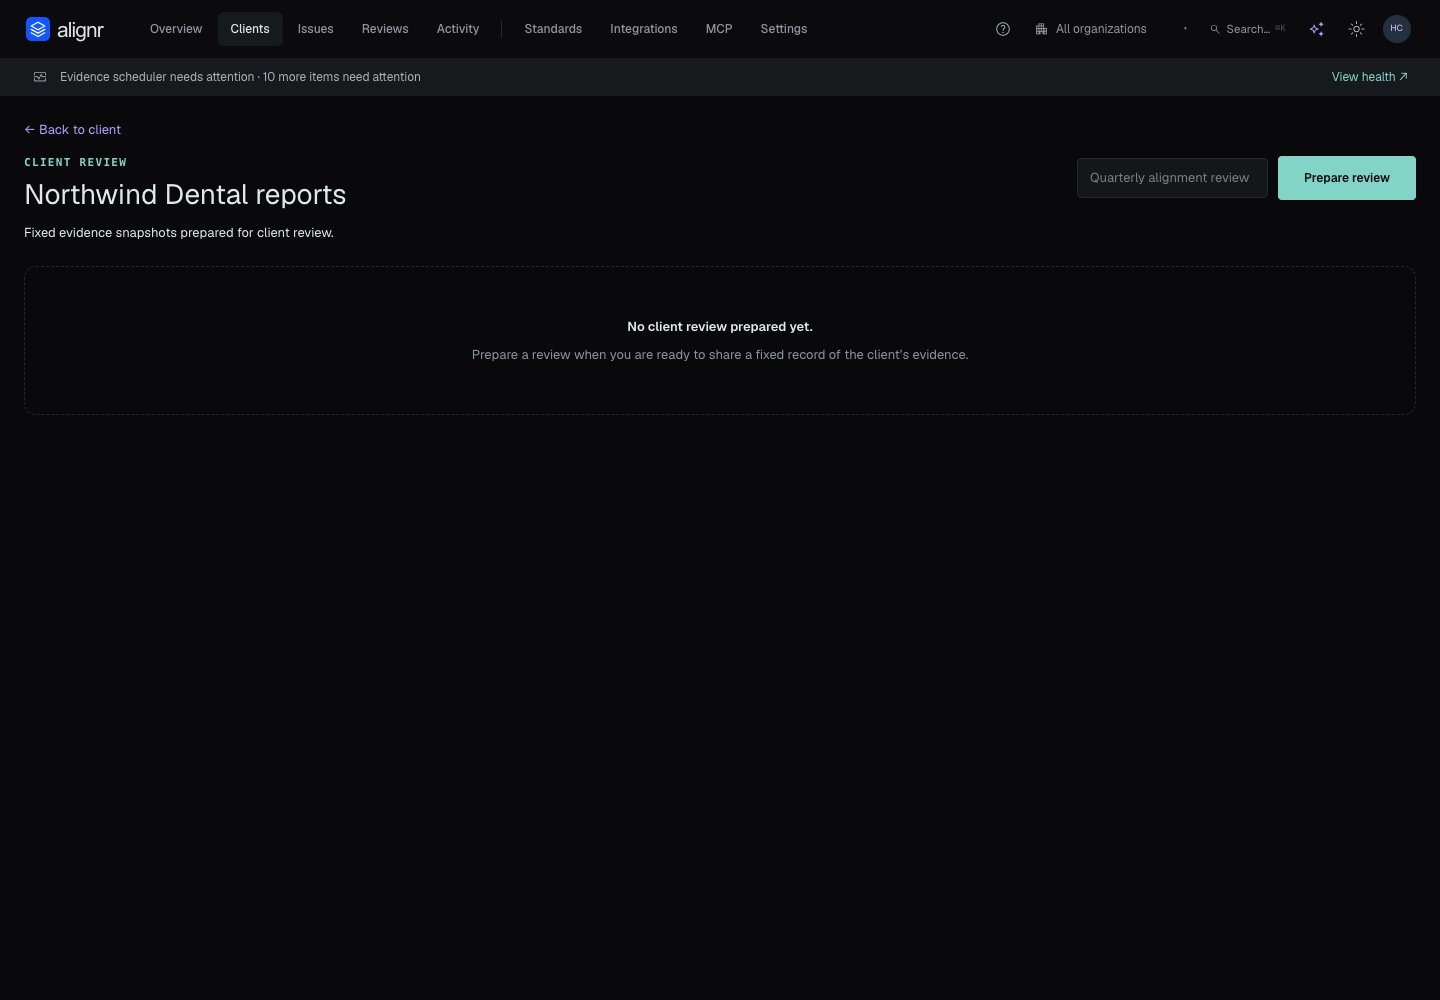
Client reports screen with a report-name field and Prepare review action for a demo client.

Open a client's More menu, then Review reports. Preparing a review creates a fixed snapshot.

Inspect the client’s evidence and outstanding work before preparing a report. Check the saved output before sharing it. Later assessments do not rewrite an earlier snapshot. Continue with Prepare a client report and Run a client meeting.